Dimensions for A4: A Precise Guide to Paper Sizing
Exact A4 dimensions and ISO 216 standards with printing tips. What Dimensions explains nominal size, inch conversions, and layout guidelines for accuracy.

What dimensions for A4 mean in practice
For anyone planning layouts, the dimensions for A4 set the boundaries for content grids, margins, and bleeds. When you work with 210 × 297 millimeters, you implicitly commit to a large swath of design consistency that crosses borders and languages. In practice, designers use the nominal size to establish a baseline grid: a standard page width and height that fit most printers, copiers, and digital workflows. The ISO 216 standard, which governs the A-series, underpins how these dimensions are perceived in different markets. What Dimensions emphasizes that knowing these numbers helps reduce guesswork when you set up templates, margins, and typography scales. It also simplifies cross-project collaboration—when a designer hands off a file to a printer or a publisher, everyone knows the exact starting point.
Nominal size vs manufacturing realities
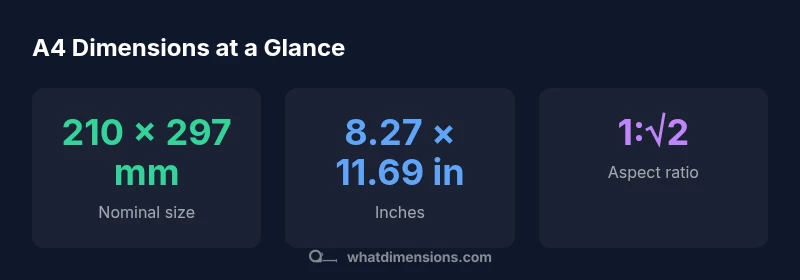
The nominal size of A4—210 × 297 mm—serves as the baseline for most projects. In the real world, sheets can vary slightly by batch, paper grade, or production method. These variations are generally small and within tolerance ranges defined by suppliers and ISO 216. What Dimensions stresses that you should treat nominal size as the primary reference, then account for potential deviations during printing or trimming. When designing, build in bleed areas and safe margins so your critical content remains unaffected by minor size shifts. The result is a robust template that tolerates common manufacturing variances without compromising layout integrity.
Converting A4 to inches and understanding the √2 ratio
Converting 210 mm to inches yields approximately 8.27 inches, while 297 mm converts to about 11.69 inches. The A-series uses the 1:√2 aspect ratio, which means each successive size retains the same proportion when scaled. This proportionality is why an A4 sheet halves perfectly to A5, and so on. For designers, this makes it easy to draft multi-page documents that visually scale as you move up or down the size chain. If you work primarily in inches, keep the approximate values handy for quick viewport and layout decisions.
A4 relative to other common sizes (ISO and US formats)
A4 sits in the middle of a family of standardized formats. A3 is 297 × 420 mm, and A5 is 148 × 210 mm. By comparison, US Letter is 216 × 279 mm (8.5 × 11 inches). The small but meaningful differences between A4 and Letter can affect margins, binding, and printer settings when sharing documents internationally. Designers should be mindful of these differences and consider converting units or using cross-border templates to avoid misalignment in printed outputs.
Design considerations: margins, bleed, and printable area
When preparing A4 artwork for print, margin and bleed decisions are critical. Bleed commonly extends to 3 mm (0.125 in) beyond the final trim to ensure ink coverage at the edge. Safe margins often fall between 12–15 mm (roughly 0.47–0.59 in), depending on the document type and binding method. If you’re designing a brochure or report with dense text, consider slightly wider margins to improve readability. For digital-to-print work, set up your document with explicit bleed guides and use printers’ crop marks to verify trim accuracy. Always test print a page at actual size to confirm alignment and color fidelity before committing to a full run.
Practical tips for students, designers, and homeowners
- Create A4 templates in your preferred software with built-in bleed and margin guides.
- Use the 210 × 297 mm baseline as a universal reference for cross-device layouts.
- When sharing with printers, export PDFs with bleed embedded and include crop marks.
- For classroom or client projects, provide both metric and inch measurements to avoid confusion.
- Regularly check your printer’s settings (scale, fit, borderless) to ensure your design prints at true size.
Verifying dimensions in practice
To verify dimensions, print a test page at actual size using a calibrated color printer. Check the printed measurements with a ruler or calipers to confirm it matches the nominal size. If there is a discrepancy, adjust the document’s bleed or margins and reprint. For professional workflows, request a hard proof from the printer before the full run. Maintain a set of standard templates for common products (cards, reports, flyers) to streamline accuracy across multiple projects.
ISO 216: global standardization and what it means for you
ISO 216 defines the A-series sizes, including A4, and ensures consistent international sizing across producers and vendors. This standardization supports compatibility in manufacturing, packaging, and distribution. What Dimensions highlights that global teams benefit from using the same nominal dimensions as a baseline, then adapting for local printing practices. By understanding ISO 216, you can confidently design, print, and ship documents without worrying about unexpected size mismatches.